Powered By Blogger

Tuesday, 27 May 2014

Step by Step Ice Dyeing

Ice dyeing is straightforward, and gives amazing results.  If, like me, you love the surprises that random dyeing techniques give then ice dyeing is for you.

The first step is to wash your fabric to remove any starch or manufacturer's dressing.  Then you need to soak your fabric in a soda ash solution.  This will ensure the dye is fixed, and makes the fabric washable.  You need one cup of soda ash per gallon of water - I got the directions from an American website, but you can use google to find UK or European equivalent measurements.

While the fabric is soaking you can set up your dyeing station.  You need a rack that you can arrange the fabric on and cover with ice cubes; and under the rack you need something that the melted ice & dye mixture can drain into.  I found plastic garden riddles in a local branch of Yorkshire Trading.  Some people use the cooling racks that you put cakes on.  I placed my riddle over a washing up bowl.  You can place fabric in the bottom of the tub that will catch the melted ice water, and get great effects.


Fabric to be dyed in the plastic riddle

                            
Fabric covered with ice cubes.

When the fabric has been soaking for 30 minutes remove it from the soda ash solution, wring it out and place it on your chosen rack.  Crumpling the fabric helps create the pattern.  Then completely cover the fabric with ice cubes.  For this project I used a 2Kg bag of ice.  I had two long strips of 10" wide dry cotton in the basin, which had previously been treated with soda ash.

Decide what colours you want to use, bearing colour theory in mind as the dyes will blend as the ice melts.  For this project I used peach, magenta, and yellow Procion mx dye.


Sprinkle your chosen Procion dye randomly over the ice cubes.  Wear a dust mask to avoid breathing in any dye powder as it is a hazardous substance.  When you have sprinkled the dye powder on the ice, cover the whole thing with plastic.  Leave for 24 hours, allowing all of the ice to melt.   Once all the ice has melted you can rinse out the dye and wash the fabric as normal.

The fabric in the basin before being rinsed out and washed.


 The fabric in the riddle before being rinsed out and washed.

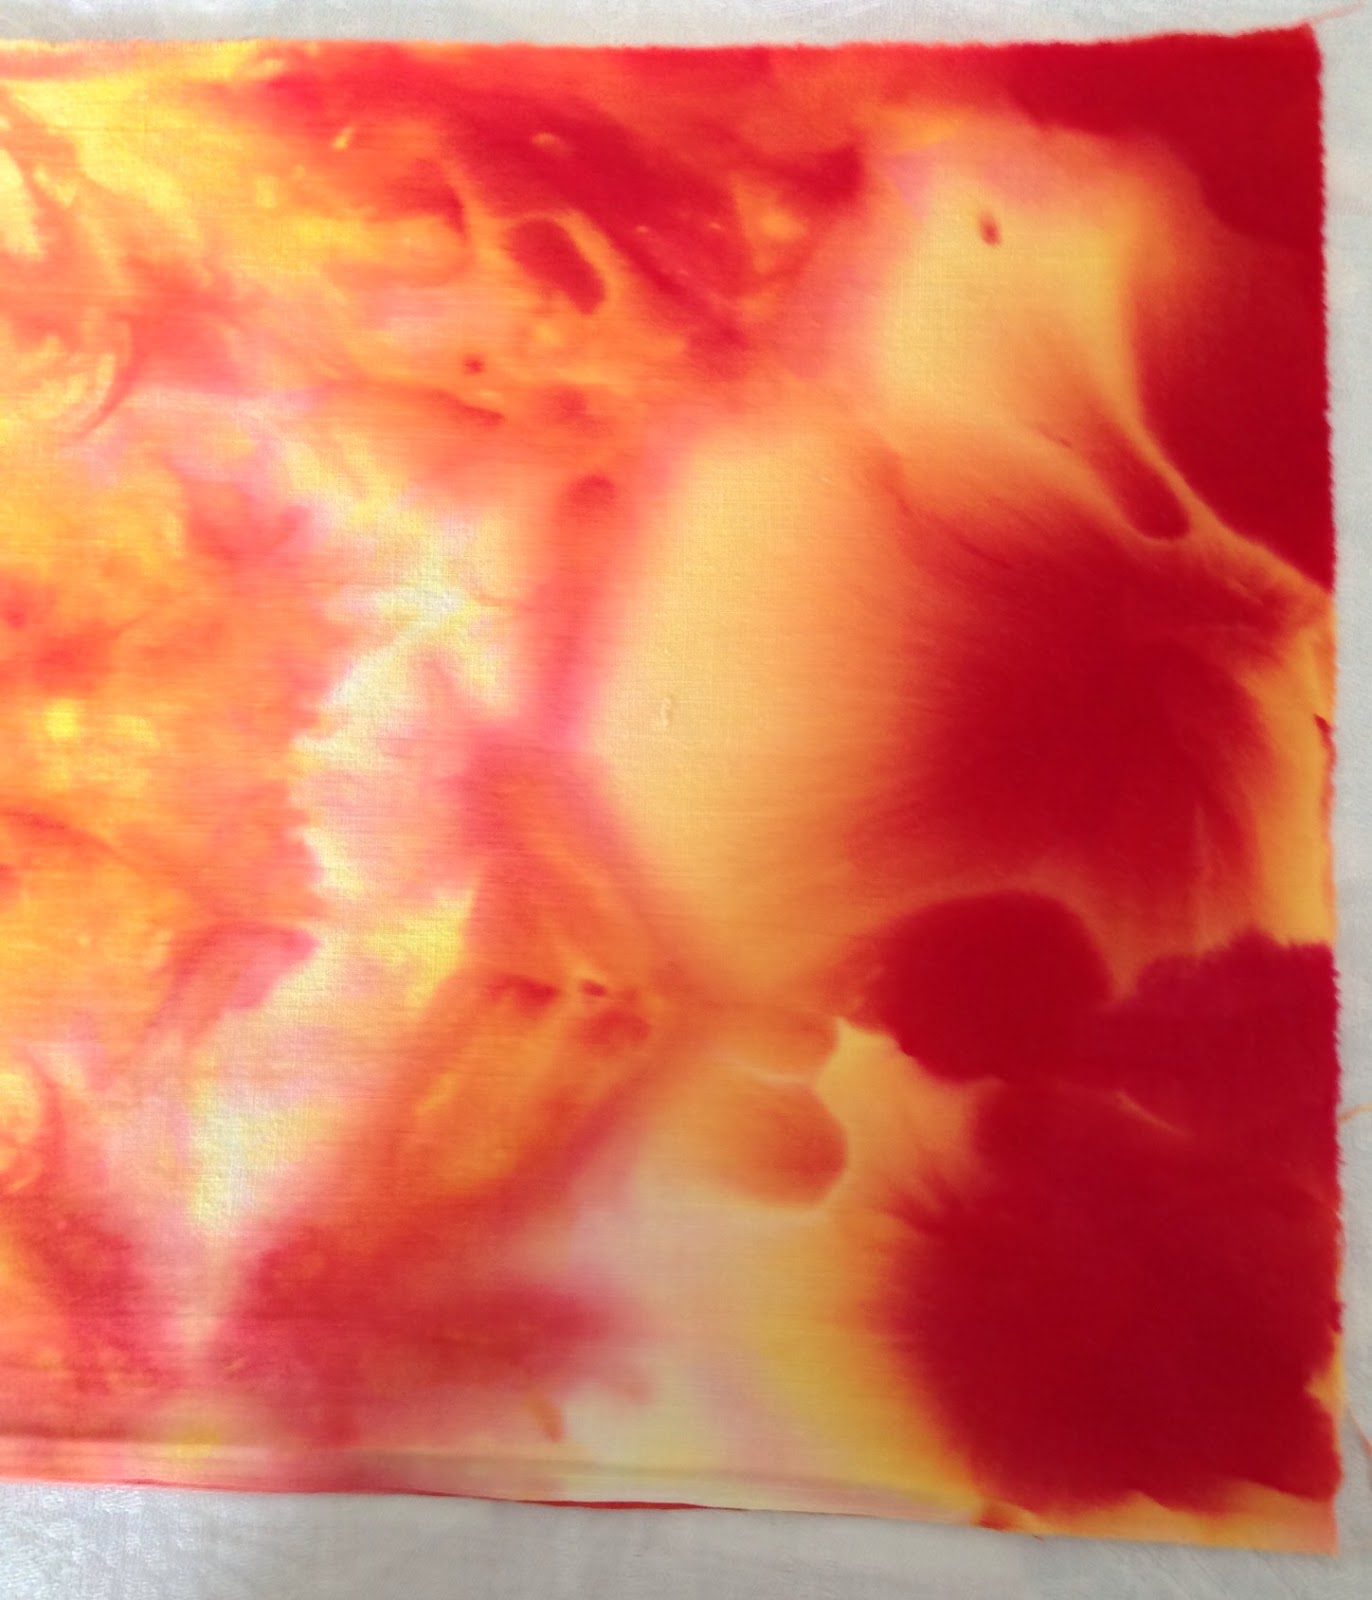
And some of the results:


Thursday, 22 May 2014

The wonderful work of Jenny Adin-Christie

On Saturday 17th June I was Lucy enough to have been invited by 3 of the members to the Embroiderer's Guild regional meeting.  The highlight of the day for me was the talk by Jenny Adin-Christie.  This is a brief summary of Jenny's talk.  If the opportunity presents itself go and hear her in person.

Jenny is a Graduate Apprentice of the Royal School of Needlework, and she began her talk by giving us some history of the RSN.  I was fascinated to learn that it had been set up by Lady Victoria Welby to create respectable employment for genteel women.  The School started with 20 young girls who, after training, worked a 50 hour week.  They produced  amazing hand embroidered furnishings.  The School was criticised for its eclecticism and lack of house style so designers, including Gertrude Jekyll, William Morris and Edward Burne-Jones, were commissioned.  

The School was responsible for embroidering the Coronation trains for Queen Elizabeth, the Queen Mother, and also for the Queen. The Queen's train was made from specially woven silk velvet and took 10 women 2 and a half months to complete.  The Queen is the current patron of the School.

When Jenny was an apprentice at the School she was trained in gold work to coronation standard, as well as learning crewel work, two kinds of silk shading and white work.  The school teaches "both sides alike" embroidery, which was developed for regimental banners.  At the time when she was training the School employed their students when their apprenticeship was completed, and Jenny worked for them spending 50% of her time teaching and 50% of her time stitching.  Projects she worked on include stitching the tiny coat of arms on gloves for The Lord Chief Justice and, at the other end of the scale, the Royal Opera House Curtains.  Other work by Jenny includes white work monogramming for Paul McCartney and  alter frontals for Canterbury Cathedral.


Perhaps the most widely recognised piece of work Jenny has been involved with very recently is Kate Middleton's wedding dress.  She was one of 70 women involved in stitching the lace motifs onto panels to create the dress.  She also stitched the monogram on the cashmere baby gifts from Sarah Burton to Prince George.

Jenny is now a freelance specialist embroiderer and tutor.  She undertakes bespoke commissions, designs, teaches groups and individuals, gives talks and lectures, and has a range of kits for sale on her website.  If you ever get an opportunity to hear Jenny speak, or attend one of her classes, then grab it with both hands!  The whole audience was captivated by her presentation.  It is now my ambition to participate in one of her workshops - preferably in sunny France.

Wednesday, 21 May 2014

Block printing

I'm in love with block printing!  Yes, I'm a fickle crafter - there are just too many things I love.  As I mentioned in a previous post, I've invested in some wood blocks and workshop DVDs from Colouricious.  I watched the DVD on printing with the wooden blocks before attempting it, and I'm glad I did.  The DVD is full of tips on how to get the best patterns.  The sun is shining in Morpeth today, so I'm hoping to get some photographs taken.

I also want to try ice dyeing today, if I can get myself organised enough.

More good news - I've heard back from Jenny Adin-Christie, so I'll be blogging about the talk she gave at the weekend very soon.  Watch this space.

Sunday, 18 May 2014

This week's exciting things

There has been quite a lot happening this week, and so today is very much a day of rest.  I'm writing this while sitting up in bed drinking coffee, and forcing myself not to get up and play with all the lovely things I'm going to tell you about.

I think I mentioned wooden printing blocks in a previous post.  Well, the wonderful Colouricious website (http://colouricious.com) has fabulous things for textile artists and crafters.  I got their email newsletter last week which gave details of a special offer this month - all their DVD workshops half price. I knew that tucked away in my emails was one from them when I signed up for the Colouricious Club (which is free) giving me 20% off my first order.  This meant I could buy the DVDs for half price and get a further 20% off too.  Needless to say it was a done deal; and since I was getting the 20% off it made sense to buy the wooden printing blocks I wanted at the same time.  They were all delivered yesterday!  Now you'll understand why I want to dash out to the studio shed and play.

At my art class on Tuesday evening I got to use the tutor's top quality Unison chalk pastels.  This experiences reinforced the lesson learned that, with art materials, you get what you pay for.  Even my limited talents can produce a better result with the right materials.  These pastels are handmade in Tarset, Northumberland.  The colours are wonderful, and the texture is creamy.  If pastels are your medium of choice I definitely recommend you try these.

On Thursday at college I had the space to lay out all of the work I've done for the Line module to see where there are gaps to be filled, as well as checking on anything else that is needed for texture.  I've almost completed the work needed for both.  I'm both delighted to have almost finished, and sad that I won't have any more classes for months.  I do have the level 2 course starting in September to look forward to.

Last but not least I went to the Embroiderer's Guild Regional Day yesterday.  I met a lovely group of ladies and attended the talks by two professional Embroiderer's.  The first speaker was Jenny Adin-Christie, who trained at the Royal School of Needlework.  She was one of the 70 needle-women who worked on Kate Middleton's wedding dress.  I've emailed Jenny to ask if I can put some photographs of her work here as I'm planning a blog post on her talk.  The other speaker was Jane Smith of Japanese Embroidery UK.  Her work is beautiful too, but I'm afraid I was so enchanted by Jenny that Jane's talk suffered by coming after lunch.  Japanese embroidery is very traditional and has a set style.  It looks stunning, but the materials are expensive and the time it takes to learn it properly was off-putting to most people.  Do take a look at Jane's websites: www.nejiribana.co.uk and www.japaneseembroideryuk.com as you might want to try it.


Saturday, 17 May 2014

Serendipity Dye Results

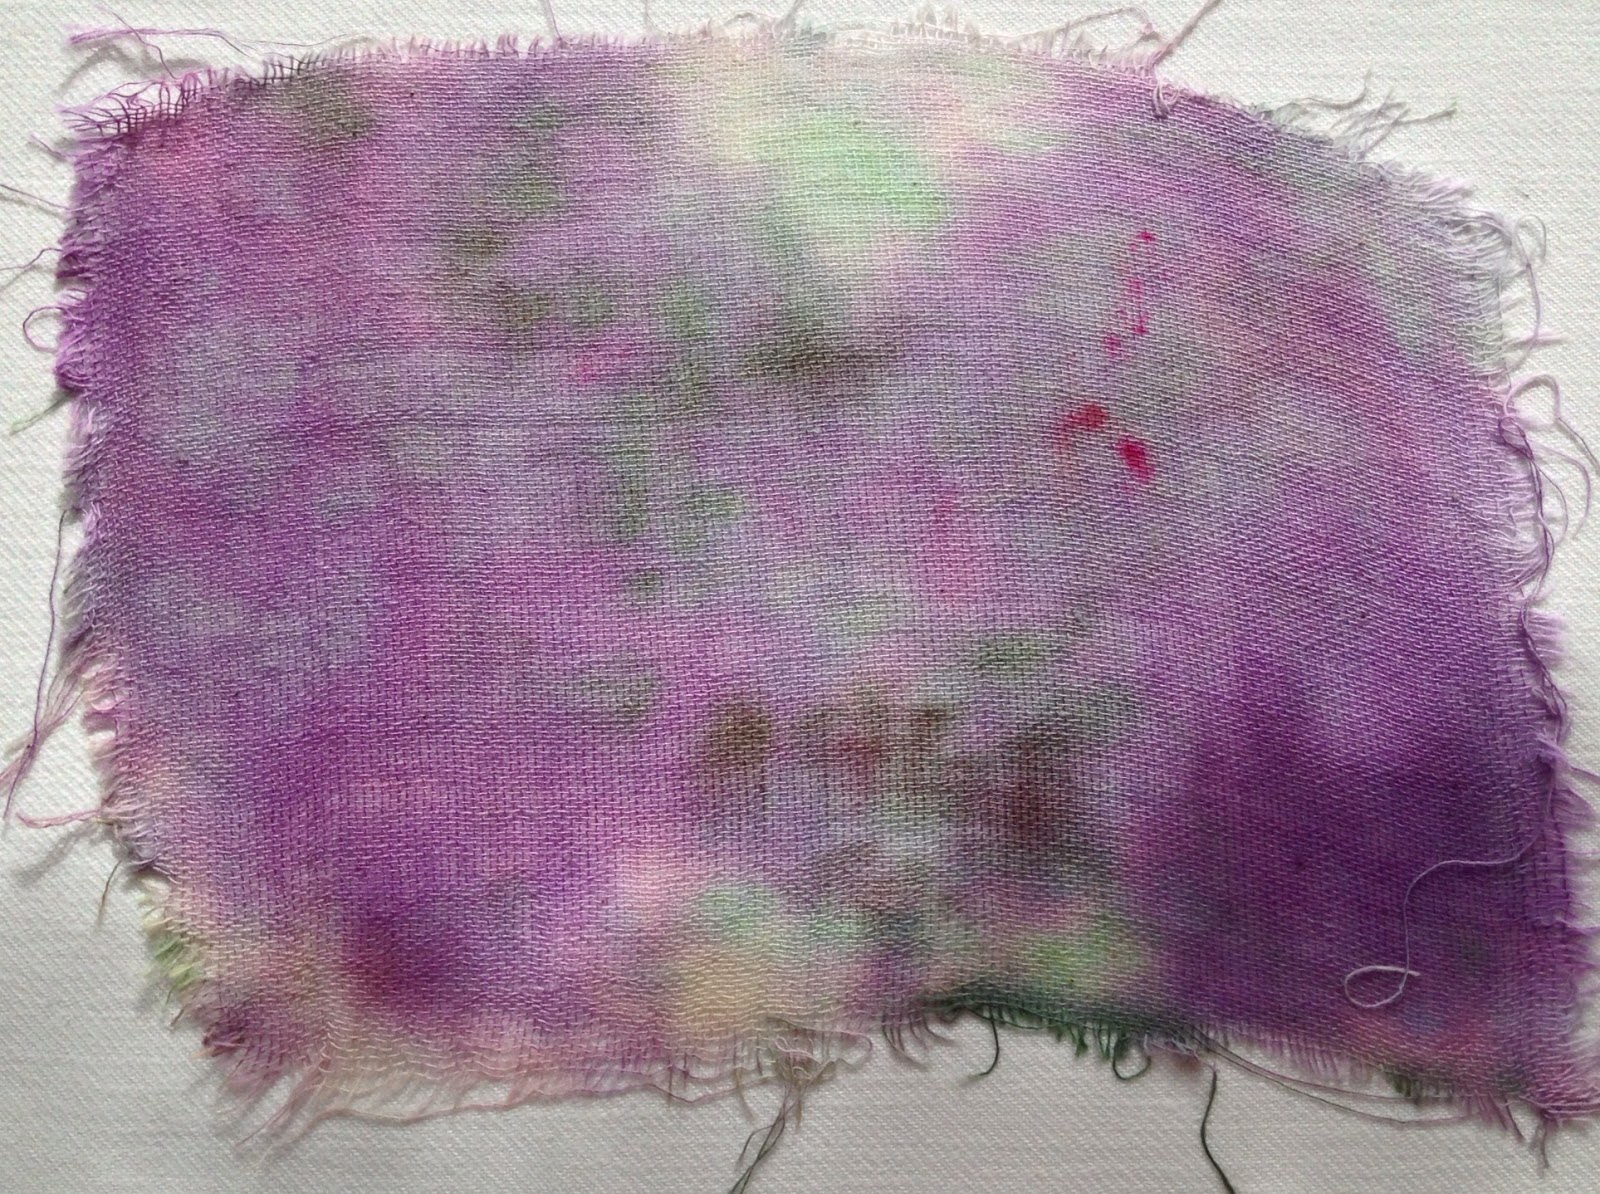
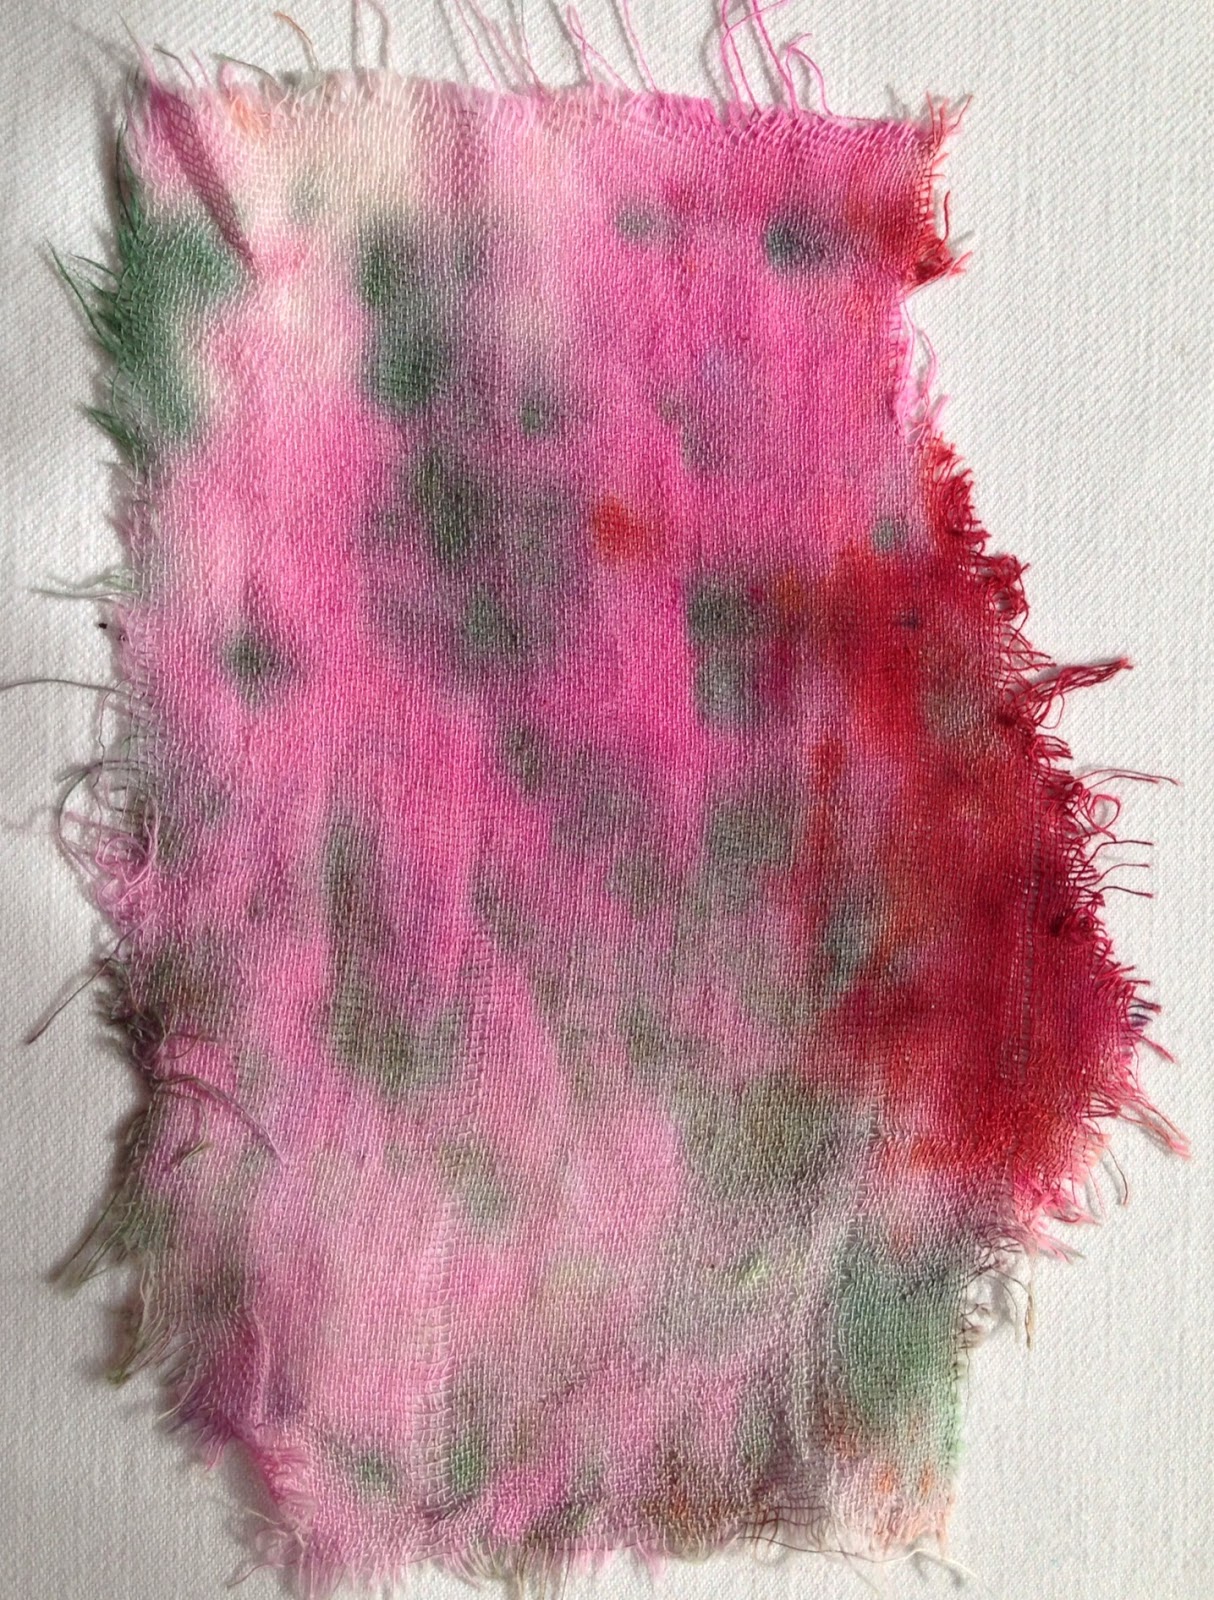
When I was doing the large batches of dyeing with the Dylon hand dye I found that some dye powder didn't dissolve.  I filtered the dye through small fragments of unbleached muslin.  These are the results -


Monday, 12 May 2014

Operation Over-Dye

Well I've spent most of today over-dyeing my previously, and not too successfully, dyed fabric.  I'm hoping that I have created enough usable material, that I'm happy with, to make the quilt I have in mind.  At the moment I'm contemplating the purchase of some wooden printing blocks from the Colouricious website.  They have some wonderful designs that might just be perfect to use on the patchwork squares, to give it the unique quality I was hoping to achieve by hand dyeing. 

This project has taught me some important lessons in relation to dyeing fabric:
1. To get the tie-dye or shibori effect that I particularly like when I hand dye I need to use Procion MX cold water dyes;
2. Dylon hand dyes are great for using in a pot on the hob to dye things a uniform colour;
3. The effects I love look best on large pieces of fabric, so I need to learn how to design my own patchwork quilt patterns that can incorporate large pieces, and showcase them to their advantage.

I know I can achieve the results I want - it just might take longer than I'd anticipated.

Sunday, 11 May 2014

New life for old sheets

The last time I met up with the lovely Jayne Hewison, textile designer, we had a really good rummage on the stalls at Tynemouth market.  I came away with, amongst other things, a pair of unused 1940s Utility bed sheets, still held together with their original ties.  I've decided to use them as the basis of the hand dyed quilt I have planned, and I have finally finished dying the first one.  The last pieces are in the washing machine as I type.  I'm delighted with some of the effects I've achieved, and less impressed with others.  Now it's time for a rest.  I'll wait 24 hours, then I'll lay out all the pieces, decide which ones are worth keeping as they are, and which ones need to be over dyed. That's the great thing about this kind of hand dyeing - I can continue to alter the colours until I'm happy with them.  I'll stick to using the Dylon dyes in the same palette until I'm satisfied with the results, but in future I'll buy procion cold water dyes as I find them easier to work with.  I can see me buying one or two colours in large packs per month until I've got a good range to work with.  I'm also thinking about putting together packs of hand dyed textiles and paper to sell, if anyone is interested.  Watch this space for photos.

Friday, 9 May 2014

Oodles of colour

One of my favourite textile based pastimes is dyeing fabric and lace.  I can happily spend hours folding up pieces of cloth into bundles, and dropping dye on to it, to create unique patterns.

That's what I spent Wednesday afternoon, and most of today, doing.  In the past I've shared photos of my dye day results here.  Those pieces were done with cold water procion dyes, which are fixed with soda ash to make them colour fast.  My latest experiments have been with Dylon hand dyes, which require heat.  I've been using an old microwave that I got free, via Freecycle, to provide the heat.  I have to say I think I prefer the procion dyes.  I do however have a batch of Dylons made up, and I'm not going to waste it!  

My current experiments with these are not just for fun.  I've decided that I want to make my cousin and his fiancĂ©e a patchwork quilt as a wedding gift, and being me I want to hand dye the fabric for it.  So I shall spend the next few days trying out different combinations, and hopefully I'll achieve the desired results.  If not I may have to resort to plan B, and buy the fabric ready printed.  Wish me luck.

Wednesday, 7 May 2014

Textile Stories Exhibition at Newbiggin

Here are some photographs from the exhibition where my work from the Lynemouth workshops was featured, along with that of 3 internationally renowned textile artists.  I didn't manage to photograph everything.  This is a selection of what was on display.


Time flies!

I can't believe that it's a week since I last posted anything.  Time certainly flies when I'm busy.  I'm under strict instructions from my son not to over do things today - it's his rewards evening at school tonight, and I have to be well enough to take him as his dad is working.  So I've been very careful not to do anything that might jeopardise my ability to attend this evening.  He has to go, otherwise he can't go to the prom, and since he is now the proud owner of a very smart suit he is not going to risk being banned!

Now to share some photos with you.  The photo below shows eco-printing on watercolour paper.  The very lovely and talented Marilyn Stephens has step-by-step instructions on her blog: http://marilyn-interlaced.blogspot.co.uk. Please pop along and look at her lovely work.

I'm going to post the pictures from the Textile Stories exhibition at Newbiggin Maritime Centre separately.